Composting is an essential practice for any gardener seeking to create a sustainable and environmentally friendly garden.
By transforming kitchen scraps and garden waste into nutrient-rich soil, composting allows us to give back to the earth while nurturing our plants.
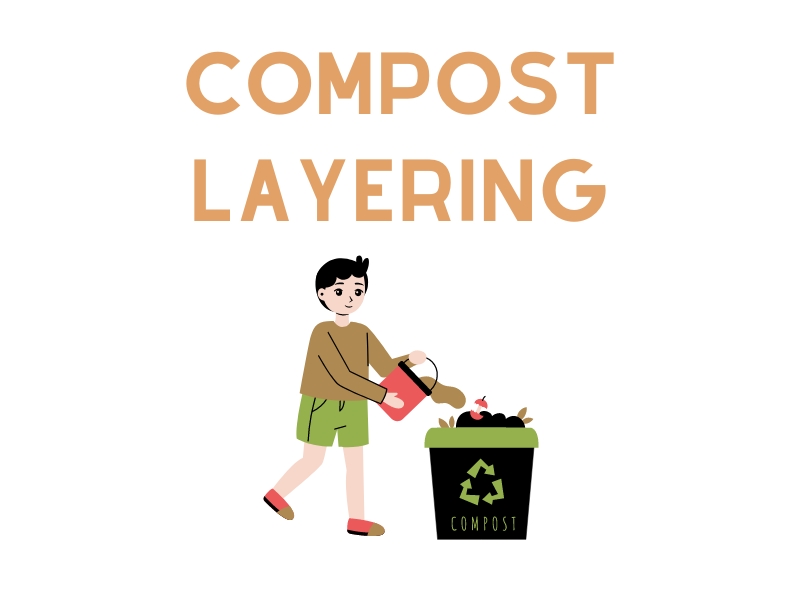
Properly layering a compost bin is vital for achieving optimal decomposition and maximizing the benefits of composting. In this article, we will explore the process of compost layering, offering valuable tips and guidance to help you cultivate a flourishing garden using this natural and efficient technique.
The Basics of Compost Layering
To build a well-layered compost pile, it’s essential to understand the different materials and their roles in the composting process. By ensuring a proper balance of green and brown materials, you’ll create an environment conducive to decomposition.
Green Materials (Nitrogen-rich)
- Examples: fruit and vegetable scraps, coffee grounds, grass clippings
- Benefits: provides essential nitrogen for microorganisms, accelerates decomposition
- Ideal Ratio: 1 part green materials
Brown Materials (Carbon-rich)
- Examples: leaves, small branches, cardboard, and paper
- Benefits: supplies carbon for energy, balances moisture levels
- Ideal Ratio: 2 parts brown materials
Balancing Green and Brown Materials
- Significance: maintains a healthy microbial population, prevents unpleasant odors and excessive moisture
- Tips: layer green and brown materials evenly, and adjust ratios as needed for optimal decomposition
Moisture and Aeration
- Importance: supports aerobic decomposition, ensures healthy microbial activity
- Ideal Moisture: compost should be as damp as a wrung-out sponge, add water or brown materials as needed to maintain moisture balance
- Aeration: turn and mix compost regularly to promote airflow, and use coarse materials in the bottom layer for drainage and circulation
By understanding the roles of green and brown materials, as well as the importance of moisture and aeration, you’ll be well-equipped to create a well-layered compost pile that promotes efficient decomposition.
| Category | Green Materials (Nitrogen-rich) | Brown Materials (Carbon-rich) |
| Examples | 1. Fruit and vegetable scraps | 1. Leaves |
| 2. Coffee grounds | 2. Small branches | |
| 3. Grass clippings | 3. Cardboard and paper | |
| Benefits | 1. Provides essential nitrogen | 1. Supplies carbon for energy |
| 2. Accelerates decomposition | 2. Balances moisture levels | |
| Ideal Ratio | 1 part green materials | 2 parts brown materials |
| Significance | 1. Maintains healthy microbes | 1. Prevents odors and moisture |
| 2. Promotes decomposition | 2. Supports aerobic breakdown | |
| Tips | 1. Layer green and brown evenly | 1. Adjust ratios as needed |
| 2. Monitor moisture levels | 2. Turn compost for aeration |
Compost Layers Diagram
Here’s a simple diagram to give you a visual representation of the ideal compost bin setup. Keep this in mind as you build your layers.
| Layer | Material | Purpose |
| Top | Green Materials | Supply nitrogen |
| Brown Materials | Supply carbon | |
| Middle | Mixed Green and Brown Materials | Balance nitrogen and carbon |
| Garden Soil | Introduce microorganisms | |
| Bottom | Coarse Materials (e.g., twigs) | Aeration and drainage |
What is The First Layer in a Compost Bin?
You might be wondering, “What’s the best base layer for my compost bin?” The first layer plays a crucial role in providing aeration and drainage, and the most effective materials for this are coarse and woody. Small branches, straws, or even shredded cardboard can do the trick.
Bottom Layer of Compost
The bottom layer of your compost bin should be about 4 to 6 inches thick, providing ample space for air circulation and moisture drainage. This ensures that your compost pile doesn’t become too soggy, which can lead to anaerobic decomposition and unpleasant odors.
Additional Compost Layers
Once your bottom layer is set, it’s time to add more layers. This is where the magic really happens! Alternate between green and brown materials, making each layer about 2 to 4 inches thick. This ensures that you maintain that perfect 2:1 ratio of brown to green materials. You can also sprinkle a thin layer of garden soil between layers to introduce more microorganisms into the mix.
Order of Compost Layers
The ideal sequence of layers is:
- Bottom Layer: Coarse materials
- Green Layer: Nitrogen-rich materials
- Brown Layer: Carbon-rich materials
- Garden Soil (optional): Microorganisms
- Repeat steps 2-4 until your compost bin is full
Remember to maintain a balance between green and brown materials to keep those microorganisms happy and working efficiently.
Layering Your Compost Bin: Step-by-Step Guide
Here’s a quick step-by-step guide to help you layer your compost bin like a pro:
1. Prepare the base layer with coarse materials, about 4 to 6 inches thick.
2. Add a green layer, about 2 to 4 inches thick.
3. Add a brown layer, about 2 to 4 inches thick.
4. Optional: Sprinkle a thin layer of garden soil to introduce more microorganisms.
5. Repeat steps B, C, and D until your compost bin is full, ensuring you maintain a 2:1 ratio of brown to green materials.
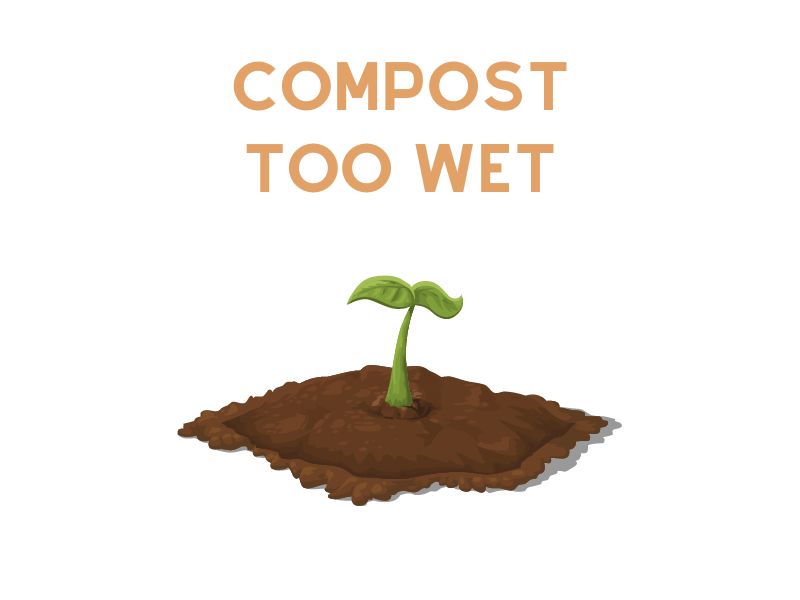
6. Keep an eye on the moisture level and air circulation within your compost bin. If it’s too dry, add water; if it’s too wet, add more brown materials.
7. Turn and mix your compost every few weeks to help speed up the decomposition process and prevent odors.
8. Troubleshoot common composting issues, like bad smells, slow decomposition, or pests, by adjusting your layering technique and maintaining a good balance of materials.
Understanding the ‘Black Gold’ of Gardening
Finished compost, often referred to as ‘black gold’, is a gardener’s dream. It’s the culmination of careful layering, balancing, and nurturing of the compost pile. To know when your compost is ready, it should be dark, crumbly, and almost sweet-smelling.
Starting Your Compost Journey: Building Your Compost Pile
- Site Selection: Choose a location in your garden that’s easy to access. A corner of the garden can work perfectly.
- Initial Layering: Start with a layer of twigs or coarse material. This layer should be about 6 to 8 inches in depth and serves to improve airflow at the bottom of your compost pile.
- Add Organic Material: Begin adding layers of green (nitrogen-rich) and brown (carbon-rich) materials. For beginners, knowing how to layer correctly can be a bit challenging. To simplify, aim for a carbon-to-nitrogen ratio that’s balanced, like 2 parts brown to 1 part green.
- Soil Layering: Every 6 to 8 inches of compost material, sprinkle a thin layer of soil. This soil layer introduces beneficial organisms and composting microbes to speed up decomposition.
- Maintenance: Water occasionally to keep the pile damp but not soggy. Turn the pile once a week to allow air into the center of the pile. This aeration aids in decomposition and prevents the pile from becoming smelly.
Using the Right Proportions
It’s essential to understand that composting is about balance. Too much of one material can throw off the decomposition process. If you’re adding lawn clippings and kitchen scraps (like fruit and vegetable peels), ensure you balance them out with dead leaves, paper, or even wood ash.
If your piles tend to dry out quickly, consider covering them with a layer of mulch or old carpet to retain moisture. And if they’re too wet, adding more brown material can help.
Taking Advantage of Local Resources
Your local extension service can provide excellent resources on composting, including workshops, pamphlets, and sometimes even composting bins for sale.
Compost Pile Troubleshooting
- The pile is too Dry: Add green materials and water.
- The pile is too Wet: Add brown materials and turn more frequently.
- The pile has a Bad Odor: This is often a sign of too much water or not enough air. Turn it and add brown materials.
- The pile isn’t Heating Up: Your compost pile may lack nitrogen. Add high-nitrogen materials like grass clippings or manure.
Frequently Asked Questions (FAQ)
What is finished compost?
Finished compost is the end product of the composting process, where organic materials such as layer compost, manure, wood chips, twigs, sawdust, and other organic matter break down into a dark, crumbly material that is rich in nutrients.
How do I build a compost pile?
To build a compost pile, you can use a composting system or simply construct a heap by layering green and brown materials, such as kitchen scraps, coffee grounds, and layers of green and brown. It’s important to ensure good drainage and aeration in the pile.
What is the composting process?
The composting process is a natural decomposition of organic matter by microorganisms. It involves creating the right conditions for the microbes to thrive, including providing a mix of carbon-rich (brown) and nitrogen-rich (green) materials, oxygen, moisture, and the right temperature.
What is composting in layers?
Composting in layers, also known as the layering method or lasagna composting, involves adding alternating layers of green and brown materials to the compost pile. This layering method helps facilitate the decomposition process and ensures a balanced mix of ingredients.
How do I turn the compost pile?
You should regularly turn the compost pile by using a pitchfork or shovel to mix the materials. Turning the pile helps aerate the compost, speeding up the decomposition process and preventing an anaerobic (without oxygen) environment.
What is decomposition?
Decomposition is a natural process where organic matter, such as kitchen scraps and garden waste, is broken down by microorganisms into simpler compounds. This process releases nutrients and transforms the material into usable compost.
What are microbes?
Microbes, also known as microorganisms, are tiny living organisms such as bacteria and fungi that play a vital role in the composting process. They break down organic matter into simpler forms that can be absorbed by plants.
What are kitchen scraps?
Kitchen scraps refer to food and vegetable waste that can be added to the compost pile. Examples include fruit peels, vegetable trimmings, coffee grounds, and eggshells. These scraps provide a source of nitrogen and other essential nutrients.
Can I start composting with just kitchen scraps?
While kitchen scraps are a valuable component of compost, it’s ideal to have a mix of both kitchen scraps and other organic materials. Kitchen scraps such as fruit and vegetable peels, coffee grounds, and eggshells provide nitrogen to the compost pile. However, to create a balanced compost, it’s important to also include carbon-rich materials such as leaves, straw, newspaper, or cardboard. These carbon sources help to provide structure and balance to the compost, preventing it from becoming too wet and smelly. So, while you can start composting with just kitchen scraps, it’s recommended to also include a mix of carbon-rich materials for optimal results.
Conclusion
Composting is an amazing way to give back to the earth and create nutrient-rich soil for your garden. Layering your compost bin is the key to creating the perfect environment for those hardworking microorganisms that make it all happen. By following the tips and tricks shared in this article, you’ll be well on your way to becoming a composting pro and nurturing a thriving, sustainable garden. Happy composting!